
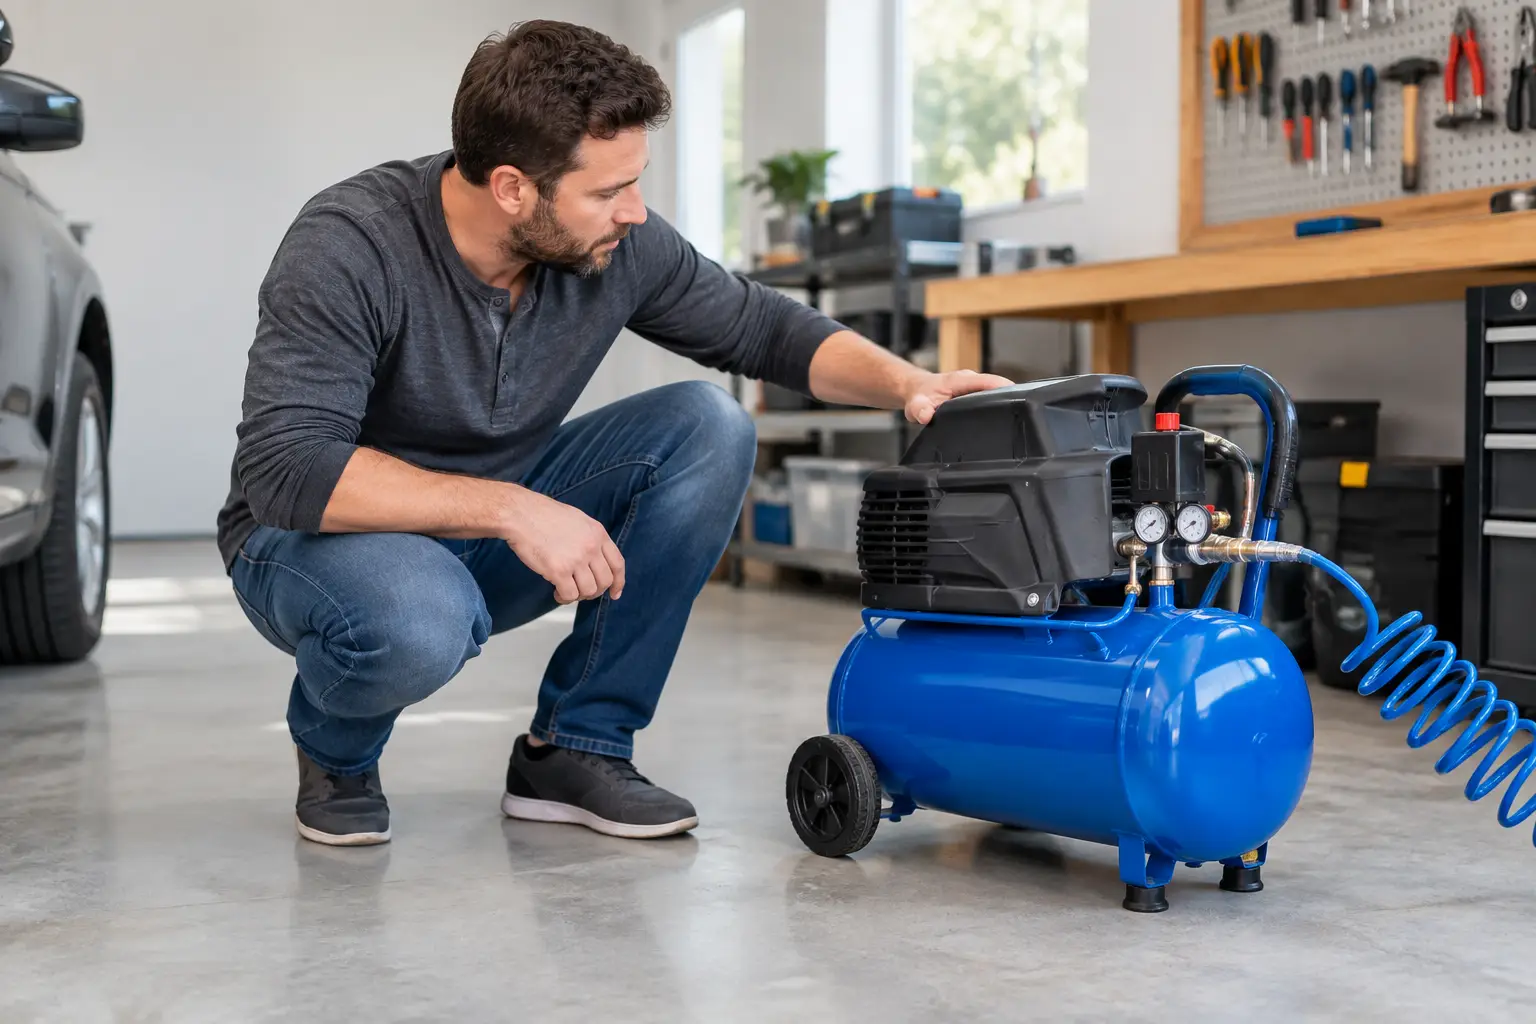
A pancake compressor looks easy to store until it is cycling every 45 seconds while you are spraying finish, blowing sawdust off a bench, or trying to run an impact wrench. In a one-car garage, the right air compressor is not simply the largest unit your budget allows. It is the unit that delivers enough air for the jobs you actually do, fits your electrical supply, and can be put away without blocking the car, workbench, or table saw.
For many small-shop owners, that means choosing against the usual bigger-is-better instinct. A compact compressor can be a very capable workshop tool, but only when its airflow, tank capacity, hose setup, and duty cycle match the work.
Start With the Tool, Not the Compressor
An air compressor is a source of stored and moving air. The tool determines how much of that air you need. Brad nailers, pin nailers, and tire inflators use short bursts, so they work well with small tanks and modest airflow. An orbital sander, die grinder, paint sprayer, or high-demand impact wrench uses air continuously or in repeated heavy bursts. Those tools expose the limits of a small portable unit quickly.
The specification that matters most is CFM, or cubic feet per minute. Look for the compressor’s SCFM rating at 90 PSI when comparing models intended for general shop tools. That rating gives a more useful picture than a maximum PSI number. Maximum pressure tells you how high the tank can be charged. It does not tell you how long the compressor can keep an air-hungry tool working.
A practical rule is to select a compressor that produces at least 1.5 times the stated CFM requirement of your highest-demand regular tool. If an air tool calls for 4 SCFM at 90 PSI, aim for about 6 SCFM at 90 PSI from the compressor. The extra capacity accounts for real-world use, pressure drop, and the fact that advertised tool consumption can be optimistic.
| Common garage task | Typical air demand | Small-garage compressor fit | |—|—:|—| | Tire inflation and blow gun cleanup | Low, intermittent | Any quality portable unit | | Brad or finish nailer | Very low, intermittent | Pancake or small hot-dog compressor | | Framing nailer | Moderate bursts | 4-6 gallon portable unit | | Impact wrench | Moderate to high bursts | 20-gallon or high-output portable unit | | HVLP spraying | Moderate, continuous | Match compressor CFM carefully | | DA sander or die grinder | High, continuous | Usually a poor fit for compact units |
These numbers are not absolute. A short burst with an impact wrench is different from removing lug nuts all afternoon, and a detail spray gun has very different air needs than a full-size gun spraying cabinet doors. The point is to buy around the workload, not the label on the compressor tank.
Tank Size Changes How the Compressor Feels to Use
Tank size does not create more airflow. It stores more air before the motor has to restart. That distinction matters in a small garage because a larger tank can make short, high-demand jobs less frustrating, but it also takes more floor space and is harder to move.
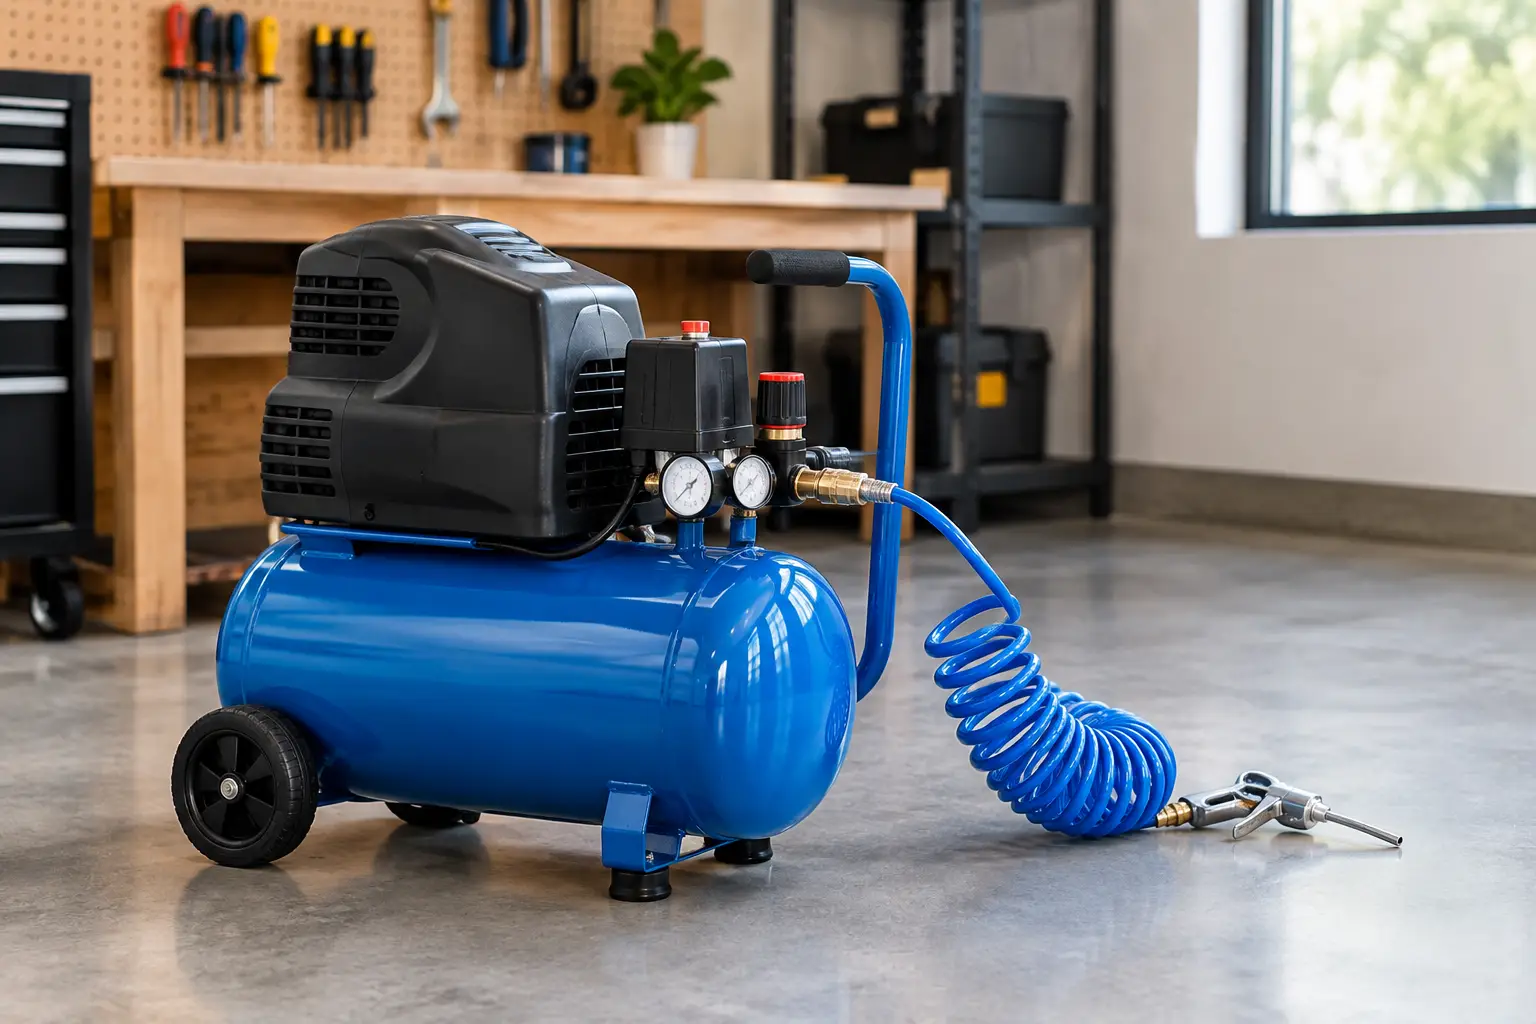
A 1- to 2-gallon unit is convenient for inflating tires, blowing off a workpiece, and occasional pin nailing. A 4- to 6-gallon pancake compressor is the common sweet spot for DIY woodworking because it can run a brad nailer, finish nailer, and occasional framing nailer without consuming much floor area. It is also easy to lift onto a wall shelf or roll into a cabinet when the garage needs to hold a vehicle.
A 10- to 20-gallon compressor is more useful for automotive tasks, larger nailers, and limited spraying. The tradeoff is that many of these units become permanent floor fixtures. Before buying one, mark out its footprint, including room for the hose connection, drain access, and ventilation around the pump. A compressor tucked tightly beneath a bench may save visible floor space while making maintenance and airflow worse.
Larger 30-gallon and 60-gallon compressors can be excellent machines, but they are often a poor first choice for a one-car garage unless air tools are central to your work. They require a dedicated location, produce more noise, and may need 240-volt power. Their capacity is wasted if the shop only uses a nailer and inflator.
Match the Air Compressor to Your Electrical Reality
Most compact portable compressors run on a standard 120-volt, 15-amp household circuit. That makes them convenient, but it also means startup current matters. Compressor motors draw a high inrush load when they start, especially under pressure. Sharing that circuit with a shop vacuum, dust collector, space heater, or table saw can trip a breaker.
Use a dedicated outlet whenever possible. If you need an extension cord, use a short, heavy-gauge cord rated for the compressor load. A thin 50-foot household extension cord causes voltage drop, which can make the motor run hotter, start poorly, and wear prematurely. In a compact shop, moving the compressor closer to the outlet is often better than adding another long cord.
Two-stage and larger shop compressors frequently require 240 volts. Do not assume a standard garage outlet can support one. Adding a 240-volt circuit may be worthwhile for a shop built around pneumatic tools, but it should be treated as part of the compressor budget rather than an afterthought.
Noise Is a Workflow Issue, Not a Comfort Feature
In a detached shop, a loud direct-drive compressor is annoying. In an attached garage, it can affect when you can work at all. Conventional pancake compressors often produce enough noise that conversation nearby is difficult. Quiet models, usually with lower-RPM motors or enclosed pump designs, cost more but make a meaningful difference when the garage shares walls with living space.
Do not judge noise only by the decibel number on the product page. The compressor’s cycling behavior matters just as much. A unit that refills its tank quickly but starts often can be more disruptive than a slightly louder machine with enough reserve capacity for the task.
You can reduce vibration by placing the compressor on a dense rubber mat, but do not wrap it in insulation or box it into a tight cabinet. Compressors need cooling air around the motor and pump. Restricted ventilation shortens their life and can create a safety problem.
Hose Size and Fittings Can Waste Useful Airflow
A compressor may meet a tool’s CFM requirement on paper but still feel weak at the tool. Long hoses, undersized hose diameters, restrictive couplers, clogged filters, and multiple quick-connect fittings all reduce pressure under load.
For brad nailers and inflation, a 1/4-inch hose is usually adequate and easy to store. For impact tools, spray guns, and anything that needs sustained airflow, a 3/8-inch hose is the better choice. Keep the working hose as short as practical, especially when the compressor is already near the lower edge of the tool’s CFM requirement.
Set the regulator based on the tool manufacturer’s operating pressure, not the compressor’s maximum PSI. More pressure does not fix an undersized compressor. It can damage a tool, waste air, and cause inconsistent results when spraying or fastening.
A water separator and regulator are worthwhile additions for paint spraying and for any humid garage. Compressed air cools in the hose and tank, allowing moisture to condense. Water in a spray gun ruins finish quality, while water left in the tank promotes internal corrosion.
Choose Oil-Free or Oil-Lubricated Based on Use
Most portable compressors sold to homeowners are oil-free. They are simple to own, need less routine service, and can be stored or transported more easily. For a garage used for woodworking, household repair, and occasional automotive work, an oil-free unit is usually the practical choice.
Oil-lubricated compressors generally run cooler and can be more durable in frequent-duty applications. They also require oil checks, level storage, and more deliberate maintenance. If you expect to use pneumatic tools heavily every week, the extra upkeep may be justified. For occasional nailer use, it usually is not.
Regardless of pump style, drain the tank after use or at least after every humid work session. Open the drain valve with pressure reduced, let moisture escape, and close it after the tank is empty. This small habit matters more than most buyers realize because tank corrosion begins where you cannot see it.
Plan Where It Lives Before You Buy
The best location is usually near an outlet and away from the main cutting zone, with enough open air for cooling and a clear path to the hose. In a one-car garage, a rolling cart or low shelf can keep a 4- to 6-gallon compressor from becoming another object on the floor.
If the compressor will stay in one place, consider using a longer quality air hose rather than moving the machine around the shop. That keeps noise and vibration in one corner while allowing you to reach a workbench, miter saw station, or vehicle. Coil the hose on a wall-mounted hanger rather than leaving it across walking paths.
A compressor earns its space when it supports your actual workflow. Choose enough CFM for the tools you use most, enough tank for the way you work, and a footprint you can live with after the garage door closes.
A Simple Small-Garage Compressor Buying Checklist
Before buying, answer these questions:
- What is my most demanding air tool?
Find its CFM and required PSI.
- How often will I use it?
Occasional nailer use is very different from daily sanding or automotive work.
- What CFM does the compressor deliver at 90 PSI?
This should be one of the first specifications you compare.
- Do I need extra CFM capacity?
A reasonable reserve helps prevent the compressor from constantly operating at its limit.
- What tank size fits my workflow?
Choose enough reserve capacity without sacrificing valuable garage space.
- What electrical service do I have?
Check voltage, amperage, circuit requirements, and the manufacturer’s instructions.
- How much noise can I tolerate?
This matters particularly in attached garages.
- Where will the compressor live?
Measure the footprint and leave room for ventilation and maintenance.
- What hose and fittings will I use?
Do not let restrictive accessories undermine the compressor’s available airflow.
- Will I use paint or other moisture-sensitive applications?
If so, plan for appropriate filtration and moisture control.
Final Verdict: Buy for the Work, Not the Tank
The best air compressor for a small garage is not necessarily the biggest, quietest, or highest-PSI model.
It is the compressor that matches your actual workload.
For a garage centered around woodworking, trim work, nailers, tire inflation, and occasional cleaning, a compact 4- to 6-gallon compressor can be a very practical solution.
If you regularly use impact wrenches, automotive tools, or other higher-demand equipment, look beyond tank size and prioritize CFM at 90 PSI, recovery performance, duty cycle, and electrical requirements.
For continuous-use tools such as DA sanders, grinders, and spray guns, step up to a compressor designed to deliver the required airflow continuously.
And before buying any model, check the manufacturer’s specifications for the exact tool you intend to run.
In a one-car garage, every square foot matters. The goal is not to buy the largest compressor that will fit. The goal is to buy enough compressor to do the work without turning your limited garage space into a permanent equipment room.

Leave a Reply