
As an Amazon Associate I earn from qualifying purchases.
A table saw can have a powerful motor, a sharp blade, and a quality fence and still produce inaccurate cuts if its components are out of alignment. In a compact garage shop, those mistakes can waste expensive lumber, consume valuable workspace, and turn a straightforward project into a frustrating series of adjustments.
Learning how to calibrate a table saw helps you produce straighter rip cuts, square crosscuts, and more consistent bevels. It also makes it easier to build accurate jigs and repeat the same cut without constantly compensating for the machine.
The key is to work in the correct order. Start by checking the blade’s alignment with the miter slot, then adjust the rip fence, verify the bevel stops, and check the miter gauge. Finish with test cuts to confirm that your measurements translate into accurate results.
You do not need an expensive calibration system to get started. A reliable combination square, a few basic measuring tools, and some scrap wood are enough for many home-shop adjustments.
Tools You Need to Calibrate a Table Saw
Before making adjustments, gather the tools you will use throughout the process.
- Combination square: Useful for checking blade angles and measuring the distance between the blade and miter slot.
- Dial indicator: Provides more repeatable measurements when checking small alignment differences.
- Feeler gauges: Help measure small gaps between the blade, fence, and reference surfaces.
- Machinist’s square: Useful for checking the blade at 90 degrees and setting the miter gauge.
- Straightedge: Helps identify problems with the fence face or other reference surfaces.
- Digital angle gauge: Useful for checking blade bevel angles.
- Wrenches or hex keys: Needed to loosen and tighten the appropriate adjustment hardware.
- Scrap lumber: Allows you to verify the results without risking material intended for a finished project.
A dial indicator is helpful if you want to measure differences of a few thousandths of an inch, but it is not essential for every adjustment. A careful combination-square method can be sufficient for many garage woodworking applications.
Always consult your saw’s owner’s manual before loosening adjustment bolts. The procedure differs between cabinet saws, contractor saws, and portable jobsite models.
| Product | Best Use | Amazon Link |
|---|---|---|
| Peachtree A-LINE-IT Basic | Blade and fence alignment | Check Price → |
| Wixey Digital Angle Gauge | Checking 90° and 45° bevel angles | Check Price → |
| Neoteck Digital Dial Indicator | Precise alignment measurements | Check Price → |
1. Prepare and Inspect the Saw
Start by disconnecting the saw from its power source. If it is a battery-powered model, remove the battery according to the manufacturer’s instructions. Never make alignment adjustments while the saw can start accidentally.
Remove the throat plate and any guards or other components that obstruct access to the measurement points. Only remove the blade or riving knife when necessary and permitted by the manufacturer’s procedure.
Raise the blade enough to inspect it safely, then clean sawdust from the tabletop, miter slots, fence, and accessible adjustment areas. Packed debris can prevent a fence from seating properly or produce misleading measurements.
Inspect the blade for bent teeth, visible damage, pitch buildup, or signs of wear. Check that it is mounted securely and that the arbor does not have noticeable play. A damaged blade or loose arbor must be addressed before calibration can be trusted.
Next, check the saw’s stand. If you use a portable table saw in a small garage, lock the stand and make sure all feet rest firmly on the floor. A rocking stand can make the setup less stable and cause inconsistent results when the saw is moved.
Keep the table and measuring surfaces clean throughout the process. Even a small amount of sawdust trapped under a square or gauge can affect the reading.
2. Align the Table Saw Blade With the Miter Slot
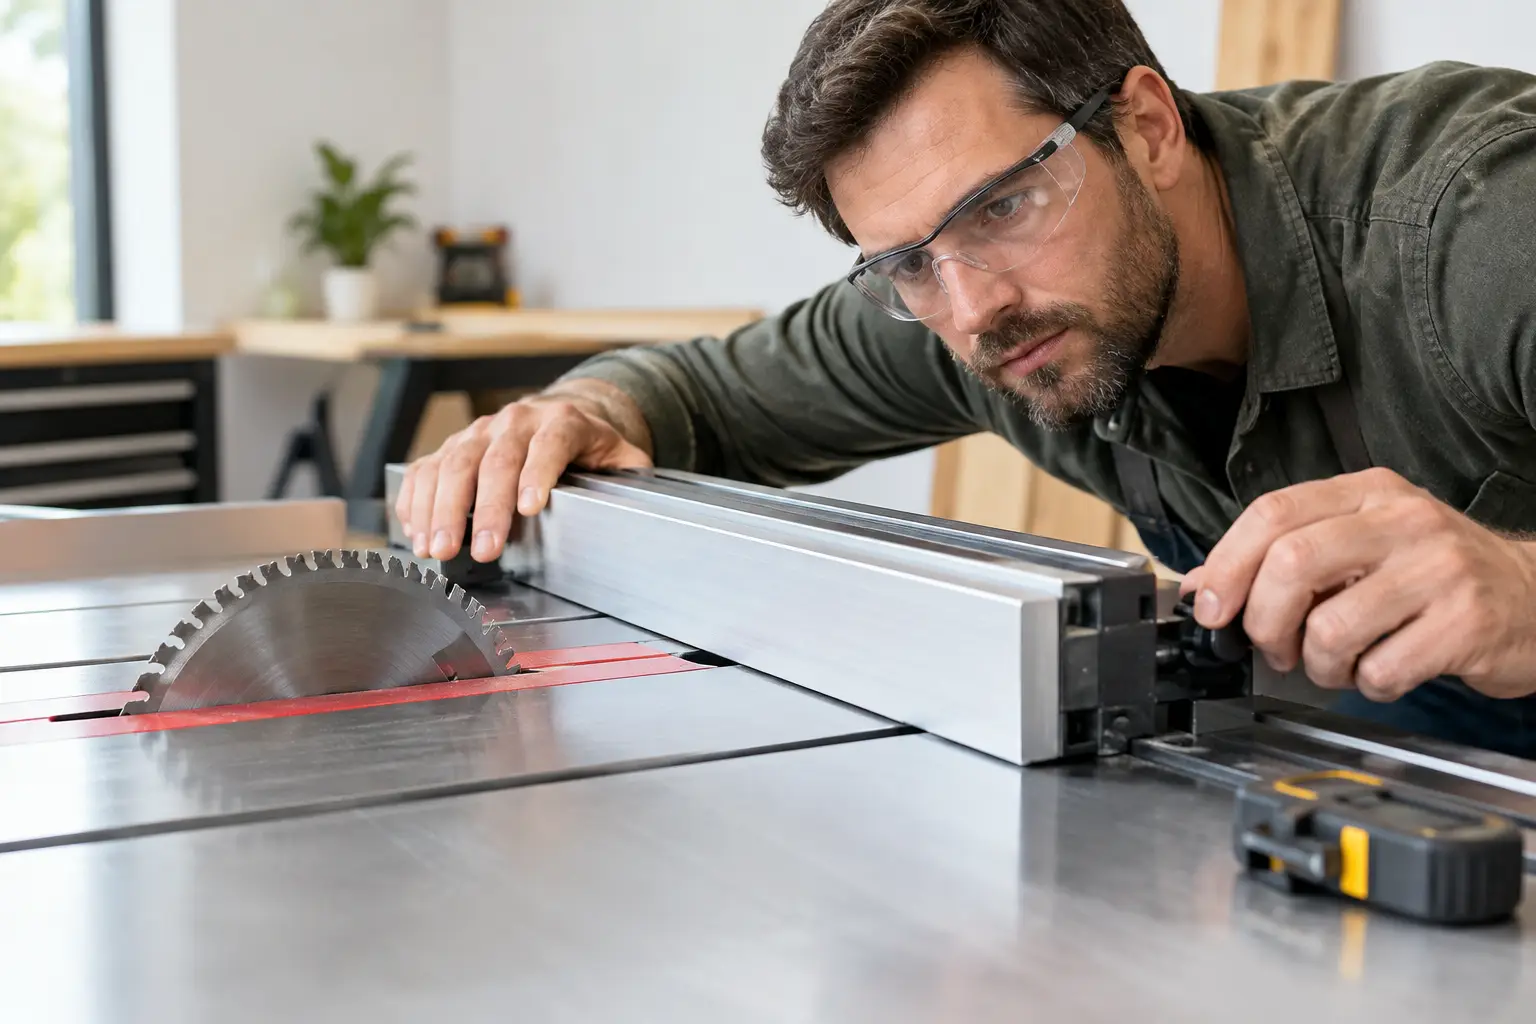
Blade-to-slot alignment is the foundation of table saw calibration. The miter slot provides a fixed reference that you can use to align the blade and then check the rip fence.
Start with the blade set at 90 degrees to the table. Use the position specified by your saw’s manual for the alignment procedure.
With the saw disconnected from power, mark one carbide tooth with a marker. Choose a clean, undamaged tooth that you can identify easily.
Place a dial indicator in the miter slot, with its measuring point contacting the marked tooth. If you are using a combination square or a fixed measuring pointer, position it carefully so that you can repeat the same measurement at the rear of the blade.
Record the front measurement. Rotate the blade by hand, following the manufacturer’s safe procedure, until the same marked tooth reaches the rear measurement position. Compare the readings.
Using the same tooth helps eliminate differences caused by variations in carbide tooth projection. Measuring different teeth can make a properly aligned blade appear misaligned.
For many woodworking saws, a difference of approximately 0.002 inch is a useful precision target. Some manufacturers specify different tolerances, so follow the requirements for your particular model rather than assuming that every saw can or should be adjusted identically.
If the front and rear measurements differ, consult the owner’s manual to determine which components can be adjusted. Depending on the design, you may need to reposition the trunnion assembly, adjust the table mounting, or use dedicated alignment hardware.
Make small adjustments rather than forcing the assembly into position. Tighten the fasteners according to the manufacturer’s instructions, then repeat the measurements. Tightening can shift the assembly slightly, so the final reading matters more than the reading taken before the bolts were secured.
If the measurements change unpredictably, investigate possible blade runout, arbor play, damaged mounting surfaces, or debris before continuing.
Important: Do not compensate for blade misalignment by moving the fence. The blade must be checked against the miter slot first, because the slot is the reference used for the remaining adjustments.
3. Set the Rip Fence Parallel to the Miter Slot
After the blade is aligned, calibrate the rip fence.
The fence guides the workpiece during ripping, so it must hold a consistent relationship with the blade. If the rear of the fence angles toward the blade, the stock can become trapped between the fence and the blade, increasing the risk of binding and kickback.
Move the fence close to the miter slot and lock it. Measure the distance from the slot to the fence face near the front of the table, then repeat at the rear using the same measuring method.
A dial indicator mounted in the miter slot provides repeatable readings. A combination square or suitable measuring blocks can also work if you position them consistently.
The usual starting point is to set the fence parallel to the miter slot within the manufacturer’s tolerance. Some woodworkers use a slight rear opening, also called toe-out, but the appropriate setting depends on the saw and its design.
Do not allow the rear of the fence to toe inward toward the blade. If the measurements show that it does, adjust the fence according to the manufacturer’s instructions.
Many T-square fences have adjustment screws on the locking head. Other portable saws use a different mechanism, so do not assume the adjustment points are the same on every model.
Make small changes, lock the fence, and measure again. Unlock and relock it several times to check whether the alignment remains consistent.
If the readings change significantly each time you lock the fence, inspect the locking mechanism, rail installation, and fence contact surfaces. A fence that aligns only in one position is not reliably calibrated.
Check the Fence Scale After Alignment
The measurement scale on the front rail is a convenience, not a guarantee of accuracy.
Once the fence is aligned, set it to a convenient width and make a test rip in scrap stock. Measure the resulting piece with a reliable rule or calipers, accounting for which side of the blade you are measuring.
If the cut does not match the setting, adjust the cursor or indicator according to the manufacturer’s instructions.
Check more than one fence position if possible. For example, compare a narrow setting with a wider one. If the error increases farther along the rail, investigate the rail installation, cursor position, or measurement method rather than assuming that the fence face itself is responsible.
4. Calibrate the 90-Degree and 45-Degree Bevel Stops
Blade alignment does not automatically guarantee square cuts. The bevel mechanism must also return the blade to the correct angle.
Disconnect the saw from power and set the blade to its 90-degree stop. Place a reliable machinist’s square against the flat blade plate, avoiding the carbide teeth.
If the square reveals a gap, check the manufacturer’s procedure for adjusting the 90-degree stop. Some saws use an adjustable stop screw, while others have a different arrangement.
After making the adjustment, move the blade away from the stop and return it to 90 degrees. Check the angle again to confirm that the stop repeats consistently.
Next, set the blade to the 45-degree stop. Use a suitable square or digital angle gauge to verify the angle, following the tool’s instructions. Adjust the stop if necessary and repeat the check.
Do not assume the bevel scale is correct simply because the blade reaches the stop. The scale pointer may need to be adjusted separately after the mechanical stops have been verified.
If the blade angle changes depending on blade height or position, consult the manual before proceeding. Some saw designs require additional checks, and a persistent discrepancy may indicate a mechanical issue rather than a simple stop adjustment.
Accurate bevel settings are particularly useful when building boxes, frames, cabinets, and other projects where angled edges must fit together cleanly.
5. Check the Miter Gauge for Accurate Crosscuts
The miter gauge controls the workpiece during crosscuts. Even if the blade is aligned correctly, a loose or poorly adjusted gauge can produce inconsistent results.
First, slide the gauge through its miter slot with the saw disconnected from power. It should move smoothly without excessive side-to-side play.
If the bar has adjustable expansion discs or set screws, adjust them according to the manufacturer’s instructions. Aim for a smooth fit without binding. Do not overtighten the adjustment hardware.
Set the gauge to zero and check the relationship between its fence and the blade using a reliable square. Adjust the zero stop or pointer as needed, then recheck the setting.
If you regularly crosscut wide boards, consider adding a straight auxiliary fence to the miter gauge. It provides better support for the workpiece and a larger reference surface for checking squareness.
Before using the gauge for a finished project, make a test crosscut in scrap wood. Check the cut with a square and confirm that the result is repeatable.
For precise panel work, a crosscut sled may be more convenient than the standard miter gauge. However, a sled needs its own calibration, even when the table saw itself is properly aligned.
Use the Five-Cut Test to Calibrate a Crosscut Sled
The five-cut test is a practical way to detect small angular errors in a crosscut sled fence.
Start with a flat, rectangular test panel. Make a cut along one edge, rotate the panel, and continue cutting the edges in sequence so that each new cut references the previous one. On the fifth cut, remove a narrow strip from the original edge.
Measure the width of the strip at both ends. A difference indicates that the sled fence is not perfectly square to the blade’s cutting path.
The test amplifies small angular errors over the length of the panel, making them easier to detect than a quick visual check.
Use the result to calculate the correction required, or follow a detailed five-cut calibration procedure suited to your sled design. Adjust the fence in small increments and repeat the test until the results meet your project’s accuracy requirements.
6. Check the Riving Knife and Blade Guard
A complete calibration should include a check of the riving knife, if your saw has one.
The riving knife helps keep the kerf open behind the blade and reduces the chance of the workpiece closing around the blade. It must be installed and aligned according to the saw manufacturer’s instructions.
With the saw disconnected from power, inspect the knife’s position relative to the blade. Use the blade plate as the reference rather than the teeth. Check that the knife is properly secured and that its thickness and position are compatible with the blade and the saw’s specified setup.
If the knife appears offset or out of alignment, consult the manual for the approved adjustment procedure. Do not improvise shims or alter safety components unless the manufacturer specifically permits that procedure.
Reinstall the blade guard and other required safety components before making test cuts. Use the riving knife and guard whenever appropriate for the operation, and never bypass a safety feature to make an adjustment easier.
7. Confirm Calibration With Test Cuts
Measurements tell you how the components are positioned. Test cuts show whether the saw performs as expected.
Use straight, dry scrap stock with edges that are suitable for the test. Keep your hands away from the blade path, use the appropriate guard and riving knife, and follow the saw manufacturer’s operating instructions.
Start with a rip cut. Set the fence to a convenient width and cut the scrap stock. Check the resulting width at several points and inspect the cut edge.
Look for signs such as:
- Burn marks along the cut edge.
- A rough or inconsistent surface.
- A workpiece that binds or becomes difficult to feed.
- A cut width that changes along the length of the board.
These symptoms can point to alignment problems, but they are not proof of a single cause. A dull or dirty blade, warped stock, incorrect feed technique, or an unstable fence can also affect the result.
If the cut burns or binds, stop using the saw until you identify the cause. Never continue a cut simply to see whether the problem improves.
Next, make a crosscut and check the resulting edge with a square. For a larger rectangular panel, measure both diagonals. Equal diagonals are a useful indication that the corners are square, provided the panel’s opposite sides are straight and parallel.
Finally, make a 45-degree bevel test in scrap material. Check the angle and, where appropriate, fit two test pieces together to see whether the joint closes cleanly.
If one test fails, revisit the adjustment that directly affects that operation. Avoid changing several settings at once, because doing so makes it difficult to identify the actual problem.
8. Keep Your Table Saw Calibrated
Once your saw is cutting accurately, record the final measurements. A short note stored near the machine can save time the next time you need to troubleshoot a cut.
Include the blade-to-miter-slot readings, fence alignment, bevel-stop checks, and the date of the inspection.
Recheck calibration when you:
- Move or transport the saw.
- Install a new blade or notice damage after a blade strike.
- Adjust the table, trunnions, rails, or fence.
- Notice unexplained burning, binding, or inaccurate cuts.
- Find that the bevel or miter settings no longer repeat consistently.
You do not need to recalibrate every component before every cut. Instead, use the saw’s performance and the type of work you are doing to decide when a check is appropriate.
For a small garage shop, this habit is especially useful. A portable saw may be moved between projects, and even a minor change in setup can affect repeatability.
Keep the table clean, inspect the blade regularly, and verify critical settings before precision work. These simple steps help maintain accuracy without turning routine woodworking into a lengthy maintenance session.
Frequently Asked Questions
How often should I calibrate my table saw?
Check your table saw whenever you move it, change important components, or notice inaccurate cuts, burning, or binding. For a stationary saw that consistently produces good results, periodic checks and inspections before precision projects are generally sufficient.
What is the best tool for table saw calibration?
A dial indicator is useful for measuring small differences between the blade and miter slot or checking fence alignment. A quality combination square, machinist’s square, and feeler gauges are sufficient for many home workshops. The best choice depends on the accuracy you need and the adjustments supported by your saw.
Why does my table saw burn the wood even after calibration?
Burn marks can result from blade misalignment, a fence that toes inward, a dirty or dull blade, warped lumber, or an unsuitable feed rate. Check the blade and fence alignment first, then inspect the blade condition and stock. Stop cutting if the workpiece binds or the saw shows signs of kickback.
Should the table saw fence be perfectly parallel to the blade?
The fence should normally be parallel to the blade’s cutting path, within the manufacturer’s specifications. Some setups use a slight rear opening, but this is not a universal requirement. Never allow the rear of the fence to angle inward toward the blade.
Final Thoughts
Learning how to calibrate a table saw is one of the most useful maintenance skills for any woodworker. Proper blade alignment, a correctly adjusted fence, accurate bevel stops, and a well-fitted miter gauge make it easier to produce reliable cuts and build projects that fit together properly.
For a small garage workshop, those improvements can mean less wasted lumber, fewer repeated cuts, and more confidence in every project. Take the time to measure carefully, make one adjustment at a time, and verify the results with scrap wood before moving on to your finished material.

Leave a Reply