
As an Amazon Associate I earn from qualifying purchases.
A miter saw can turn a clean one-car garage into a layer of sawdust after only a few crosscuts. The mess is frustrating, but the bigger problem is that much of the dust never makes it into the factory dust bag or port in the first place.
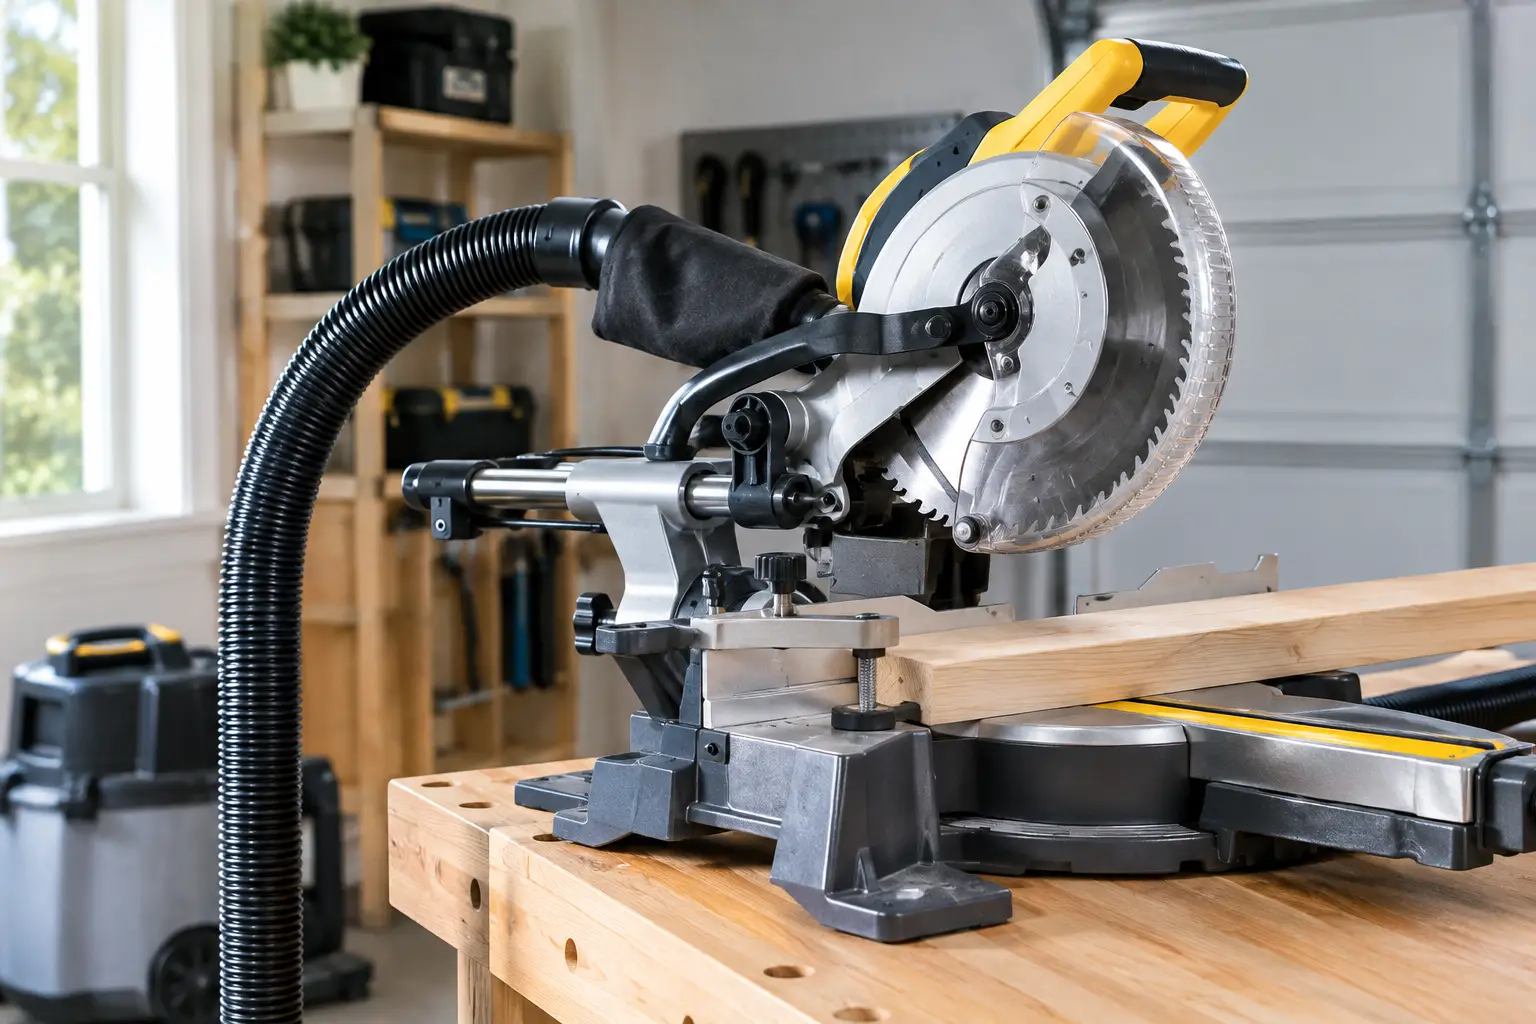
Good miter saw dust collection starts with capturing dust where it escapes. For most small garage workshops, that means using the saw’s built-in dust port with a shop vacuum or dust extractor and adding a rear dust hood to catch the chips and dust thrown behind the blade.
The goal is not to make the saw completely dust-free. No miter saw collection system will capture every particle, especially during sliding, miter, and bevel cuts. The goal is to capture the majority of the dust before it spreads throughout the garage and becomes a cleanup problem.
Why Miter Saw Dust Collection Is Hard
A table saw directs a large share of its waste below the tabletop, where a cabinet and 4-inch port can contain it. A miter saw is more exposed. The blade throws dust backward, upward, and sideways as it exits the cut. Sliding saws add another complication because the head travels forward and back, creating changing gaps around the blade.
The factory bag and port can still be useful, especially for quick outdoor cuts. In a garage, though, they commonly capture only the portion of chips that falls directly into the lower guard chute. The finest material stays airborne, while heavier chips bounce off the wall behind the saw and land on the bench, floor, and anything stored nearby.
That is why advertised collection performance can be misleading. A shop vacuum may have enough suction at a small port to collect some dust, but it cannot capture material that never enters the port. Conversely, a large dust collector can move substantial air but may perform poorly if it is connected to a 1-1/2-inch saw port through a long, restrictive hose. The collection point, hood shape, hose diameter, and filter condition all affect results.
Need a better way to collect miter saw dust?
→ Check out shop vacuums, dust extractors, and collection accessories on Amazon to find an option that fits your small garage workshop.
Start With a Hood, Not a Bigger Motor
A rear hood is the highest-value upgrade for most stationary miter saw stations. Its job is simple: place a broad collection area directly behind the blade so escaped chips and airborne dust have somewhere to go.
A useful hood should be wider than the saw’s full cutting envelope and tall enough to cover the dust stream without blocking the handle, rails, or workpiece support. For many 10-inch and 12-inch sliding saws, that means allowing extra side clearance beyond the saw body and enough depth for the head at its farthest rear position. A hood that looks tidy but sits too close to the blade will interfere with the saw or turn into a chip shelf.
For a compact garage, a shallow plywood or sheet-metal hood mounted to the back of the miter station is often more practical than a large commercial enclosure. Angle the back panel toward a collection port near the lower rear section. Heavy chips naturally settle there, while a collector pulls lighter dust toward the opening. Leave the front open so long stock can move freely.
Do not seal the hood completely. It needs makeup air to carry dust toward the port. A hood with a 4-inch outlet and a tiny opening can starve the collector. The front opening is part of the system, not a flaw in the system.
Choose a Shop Vacuum or Dust Collector Based on the Port
The right machine depends on where you are collecting dust. A miter saw’s built-in port is generally small, often around 1-1/4 to 2-1/2 inches. That favors a shop vacuum, which produces higher static pressure and can pull air through narrow hose, adapters, bends, and a restricted port.
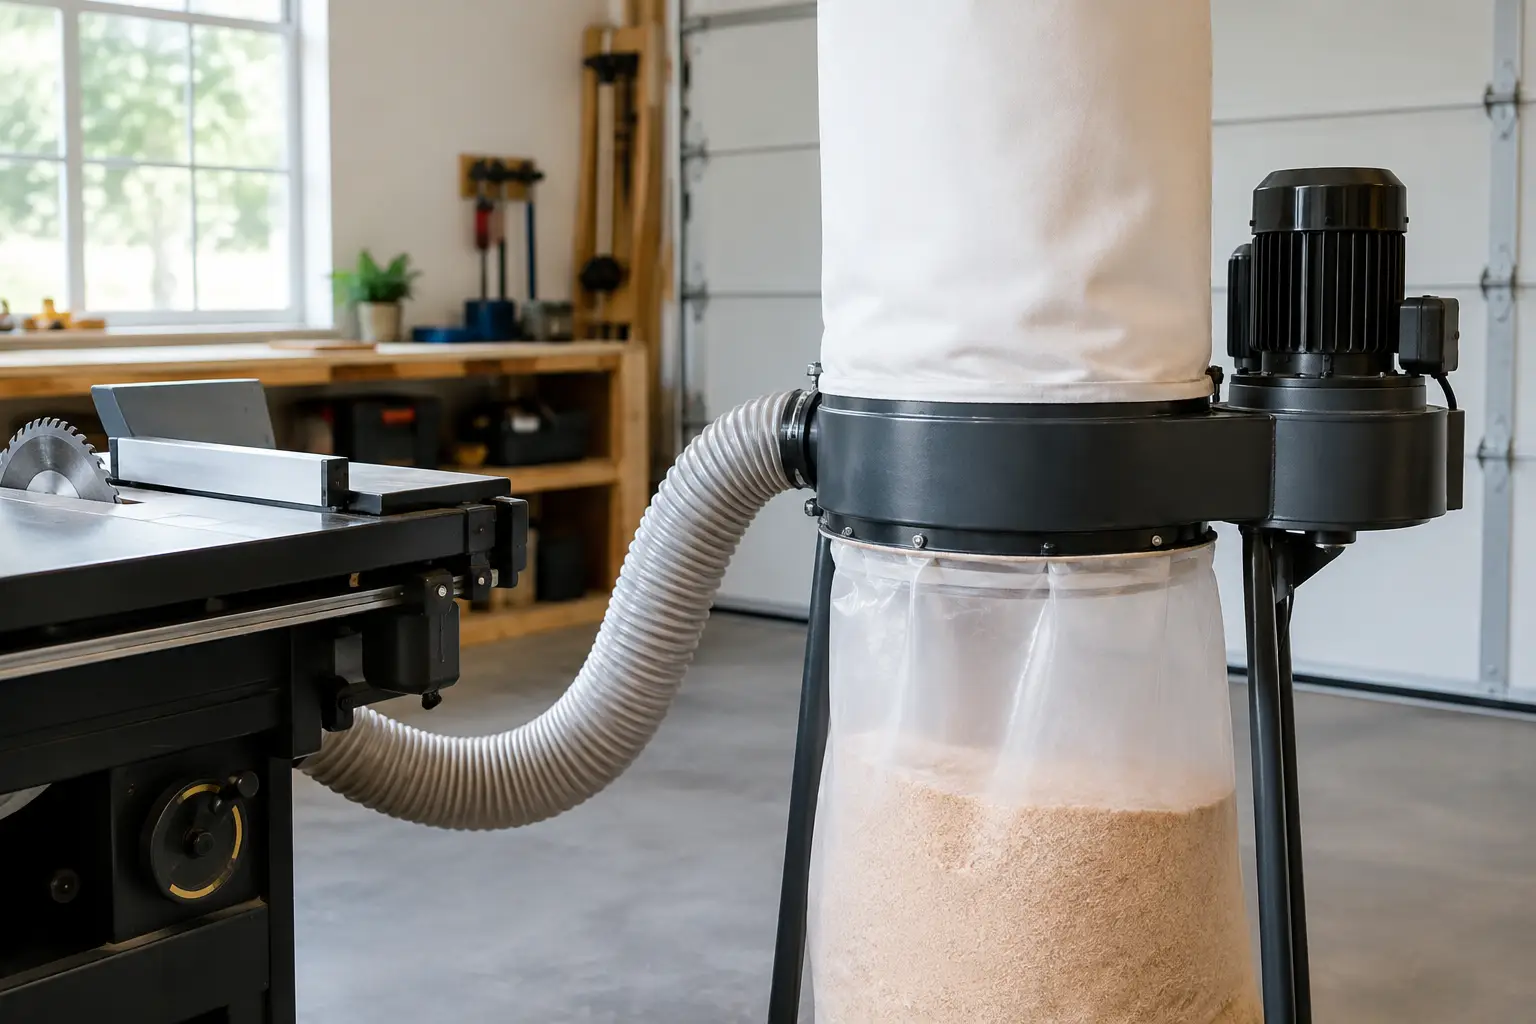
A dust collector is better suited to a hood with a 4-inch port. It moves more air volume, usually measured in cubic feet per minute (CFM), through larger ducting. That larger air stream is what helps pull the loose cloud behind the blade into the hood before it spreads through the garage.
| Collection point | Better match | Why it works | |—|—|—| | Factory saw port only | Shop vacuum with 1-1/2-inch hose | Higher static pressure handles a restrictive path | | Rear hood with 4-inch port | Dust collector and 4-inch hose | Higher airflow captures a broader dust stream | | Saw port plus hood | Two pickup points or a hood-first setup | Captures both chute dust and the material thrown behind the blade |
A single shop vacuum connected to both the saw port and a large hood rarely delivers strong results at both locations. Splitting one small hose reduces flow, and the hood opening is too large for the vacuum to influence effectively. If you have one machine, prioritize the rear hood. It captures the material the factory port misses and is usually easier to connect with a short, direct run.
For a garage shop where the collector also serves a table saw or planer, use a mobile unit and park it beside the miter station only when needed. A short 4-inch flexible hose, ideally under 10 feet with minimal sharp bends, will outperform a permanent 20-foot run coiled around the shop. In small spaces, shorter duct runs are a real advantage.
Ready to improve dust collection in your small garage? → Browse Amazon for compact dust collection solutions and find the setup that fits your miter saw, available space, and workshop needs.
Hose Diameter and Adapters Can Decide the Result
It is tempting to reduce a 4-inch collector hose down to the saw’s 1-1/2-inch port because the adapter is cheap and convenient. That reduction severely limits airflow. The collector may sound busy, yet very little air reaches the blade area.
Keep the 4-inch hose full size all the way to a 4-inch hood port whenever possible. If you also connect the factory saw port, treat it as a secondary pickup. A separate shop vacuum is the cleanest solution, although it adds noise, storage needs, and another hose to manage.
If floor space is tight, a wall-mounted hose hook and a blast gate at the miter station keep the larger hose off the walking path. Avoid routing flexible hose across the floor where it becomes a trip hazard or gets crushed by a rolling tool stand. When the garage must still hold a vehicle, a removable hose connection is often smarter than permanent ductwork.
Adapter fit matters, too. Leaks near a small tool port reduce already-limited performance. Use a stepped rubber adapter or a properly sized cuff rather than building a stack of loose reducers and tape. The goal is not perfect airtightness, but a connection that stays attached as the saw head moves.
Build Around Your Actual Cutting Workflow
A portable miter saw used on a folding stand needs a different answer than a saw built into a long bench. For occasional trim work, a compact shop vacuum, a short hose, and a fold-flat rear curtain or hood may be enough. The setup stores quickly and does not claim a permanent parking space.
A dedicated miter station justifies a better hood and a 4-inch collection connection. Put the saw where its long-stock path makes sense, then build collection around that location. Do not force the station into a corner only because it is convenient for a collector. You will create awkward material handling and may lose the clearance needed for the hood.
Also consider what happens when you cut wet pressure-treated lumber, MDF, or rough construction lumber. A fabric bag or standard cartridge filter can load quickly with fine material. MDF deserves particular attention because its dust is very fine and should not be allowed to recirculate into a confined garage. Use a collector or vacuum with fine filtration appropriate for wood dust, empty the bin before it becomes packed, and clean filters according to the manufacturer’s instructions. A clogged filter reduces airflow long before the container looks full.
Check Performance With a Real-Cut Test
Do not judge the system by suction at the hose. Make several representative cuts in the material you use most, then inspect the saw table, hood, floor behind the station, and nearby surfaces. Some chips on the saw are normal. A growing pile behind the hood means the opening is too small, the port is poorly placed, or airflow is inadequate.
Start by moving the hood closer to the dust stream without restricting saw travel. Next, shorten the hose and remove unnecessary elbows. Then inspect the filter and bin. These simple corrections often produce more improvement than moving from one nominal CFM rating to another.
A clean miter station will never be perfectly dust-free, especially with a sliding saw. The practical target is to capture the bulk of chips and keep fine dust from migrating into the rest of the garage. In a small shop, a well-positioned hood and a short, correctly sized hose usually make that happen more reliably than an oversized collector sitting across the room.
Frequently Asked Questions
Does a shop vac work for a miter saw?
Yes. A shop vacuum can work well when connected directly to the saw’s factory dust port. It is particularly useful for portable miter saws and small garage workshops. However, the factory port does not capture all of the dust produced by the blade, so adding a rear hood can significantly improve overall collection.
Do I need a dust collector for a miter saw?
Not necessarily. A shop vacuum may be enough for occasional cutting and portable setups. A dust collector becomes more useful when you add a larger rear hood or operate a dedicated miter saw station where larger airflow is needed.
What size hose should I use for miter saw dust collection?
Use the size recommended for your saw’s factory port and adapter. For a rear collection hood, 4-inch hose is a common choice for small-shop dust collectors. Avoid unnecessary reductions and keep the hose run as short and direct as practical.
Is a dust hood better than the factory dust bag?
A rear dust hood captures a different part of the dust stream. The factory bag collects material that enters the saw’s dust channel, while the hood captures dust and chips thrown behind the blade. Using both collection points can provide better overall containment than relying on the bag alone.
How do I collect dust from a sliding miter saw?
Use the factory dust port with a suitable vacuum and position a rear hood so it accommodates the saw’s full sliding, miter, and bevel movement. Sliding saws require particular attention to clearance because the blade moves significantly during a cut.
Final Thoughts
Effective miter saw dust collection is less about buying the biggest dust collector and more about capturing the dust where it actually travels.
For a small garage workshop, the most practical approach is usually a combination of a vacuum connected to the factory dust port and a rear hood connected to an appropriately sized dust collector.
The hood catches the dust the saw’s built-in system misses. The vacuum handles the smaller collection port. Short hose runs, clean filters, proper adapters, and unrestricted saw movement then help the entire system perform as intended.
If you are building a compact miter saw station, test the hood with cardboard before committing to a permanent design. Once you know exactly where your saw throws dust during crosscuts, miters, bevels, and sliding cuts, you can build the collection system around the actual dust pattern rather than guessing.
That approach makes a noticeable difference in a one-car garage, where every bit of sawdust that stays near the miter saw is dust that does not end up covering the rest of the workshop—or the car parked next to it.
Ready to improve dust collection in your small garage? → Browse Amazon for compact dust collection solutions and find the setup that fits your miter saw, available space, and workshop needs.


Leave a Reply