
As an Amazon Associate I earn from qualifying purchases.
The garage door is open, a sheet of plywood is balanced on sawhorses, and your table saw is sitting right where the car needs to go tonight. If that sounds familiar, you probably don’t need a bigger garage. You need a better layout.
A well-planned one-car garage workshop can handle everyday woodworking, small furniture projects, home repairs, and tool maintenance without turning into a permanent storage problem. The trick is to plan around the space each tool needs to do its job, not just the room it occupies when it’s sitting still.
This one-car garage workshop layout uses a 12-by-20-foot interior as a starting point. That’s 240 square feet, but the usable workspace will be smaller once you account for cabinets, appliances, door tracks, and walking paths. If you also need to park a vehicle inside, every permanent fixture matters even more.
The goal is simple: keep the main floor area flexible, put frequently used tools within easy reach, and give every machine a place to return to when the workday ends.
The One-Car Garage Workshop Layout Example
Imagine standing at the open garage door and looking toward the back wall. The table saw sits near the center of the garage, aligned with its longest dimension. A folding outfeed table provides extra support behind the saw, while a miter saw station runs along one side wall.
The opposite wall holds the workbench, hand tools, and shallow storage. A compact dust collector or shop vacuum parks in a rear corner, with a hose that can reach the machines without running across the main walking path.
Here is a simple starting layout:
“`text BACK WALL +————————————————+ | Dust collector | Storage | Lumber and clamps | | | | MITER SAW STATION WORKBENCH | | Folding support Hand tools | | | | MOBILE TABLE SAW | | FOLDING OUTF EED TABLE | | | | OPEN WORKING AND WALKING AREA | | | +—————- GARAGE DOOR ——————-+ “`
The drawing shows the general arrangement, not a dimensioned construction plan. The exact position of each tool depends on its size, the length of your workpieces, and the location of doors, utilities, and electrical equipment.
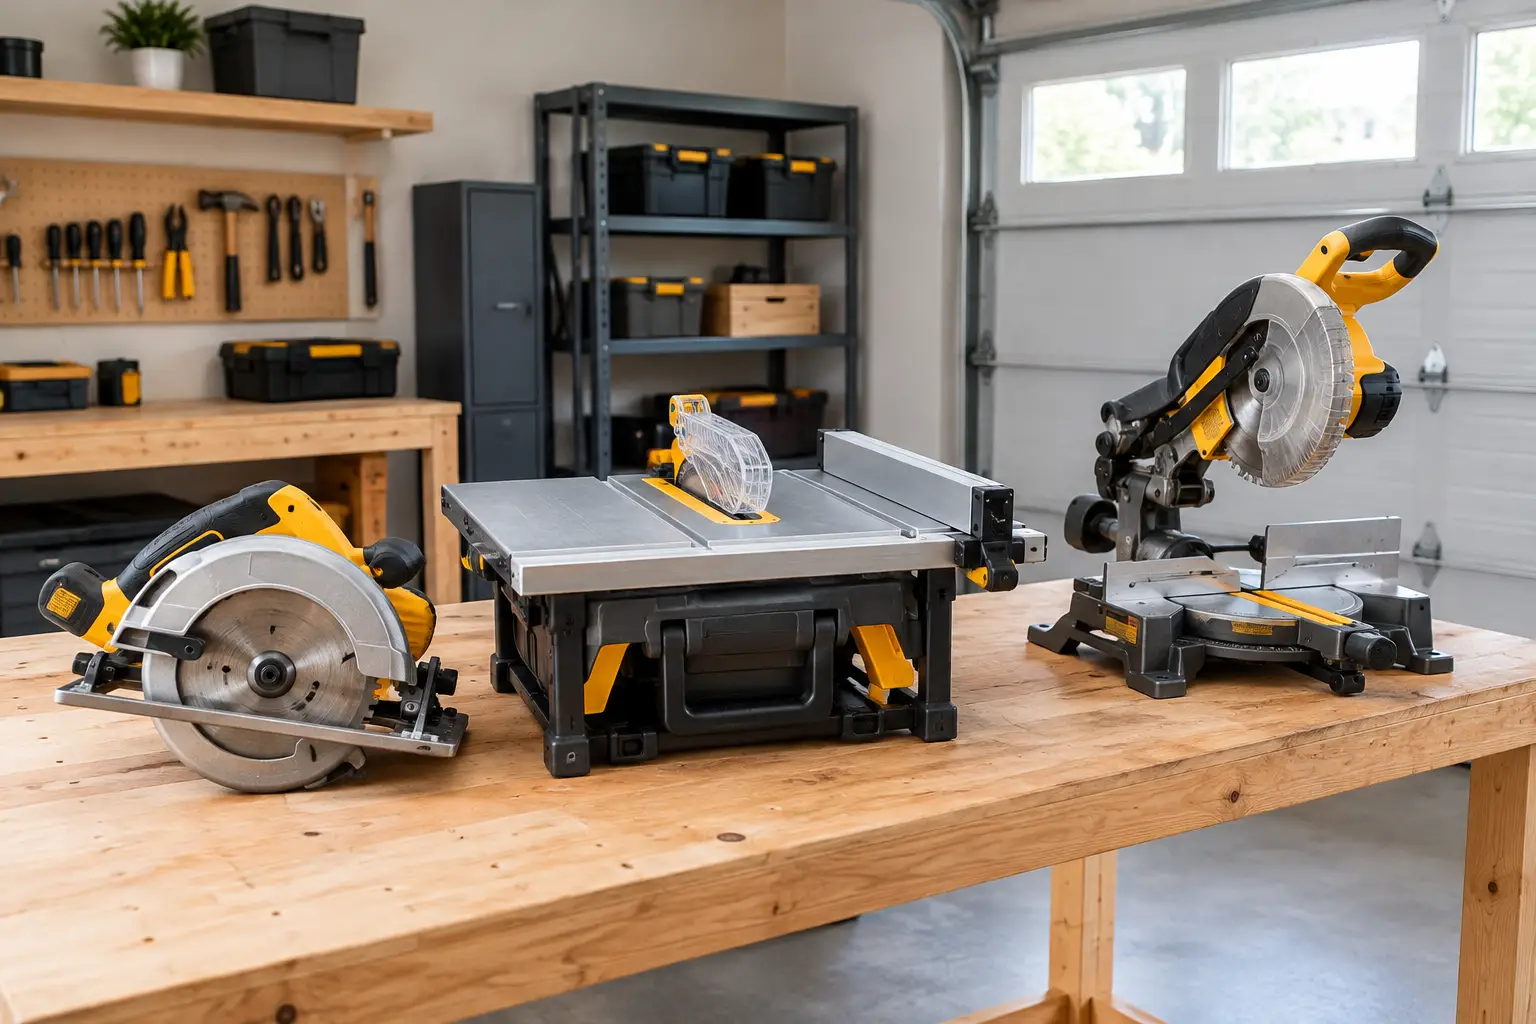
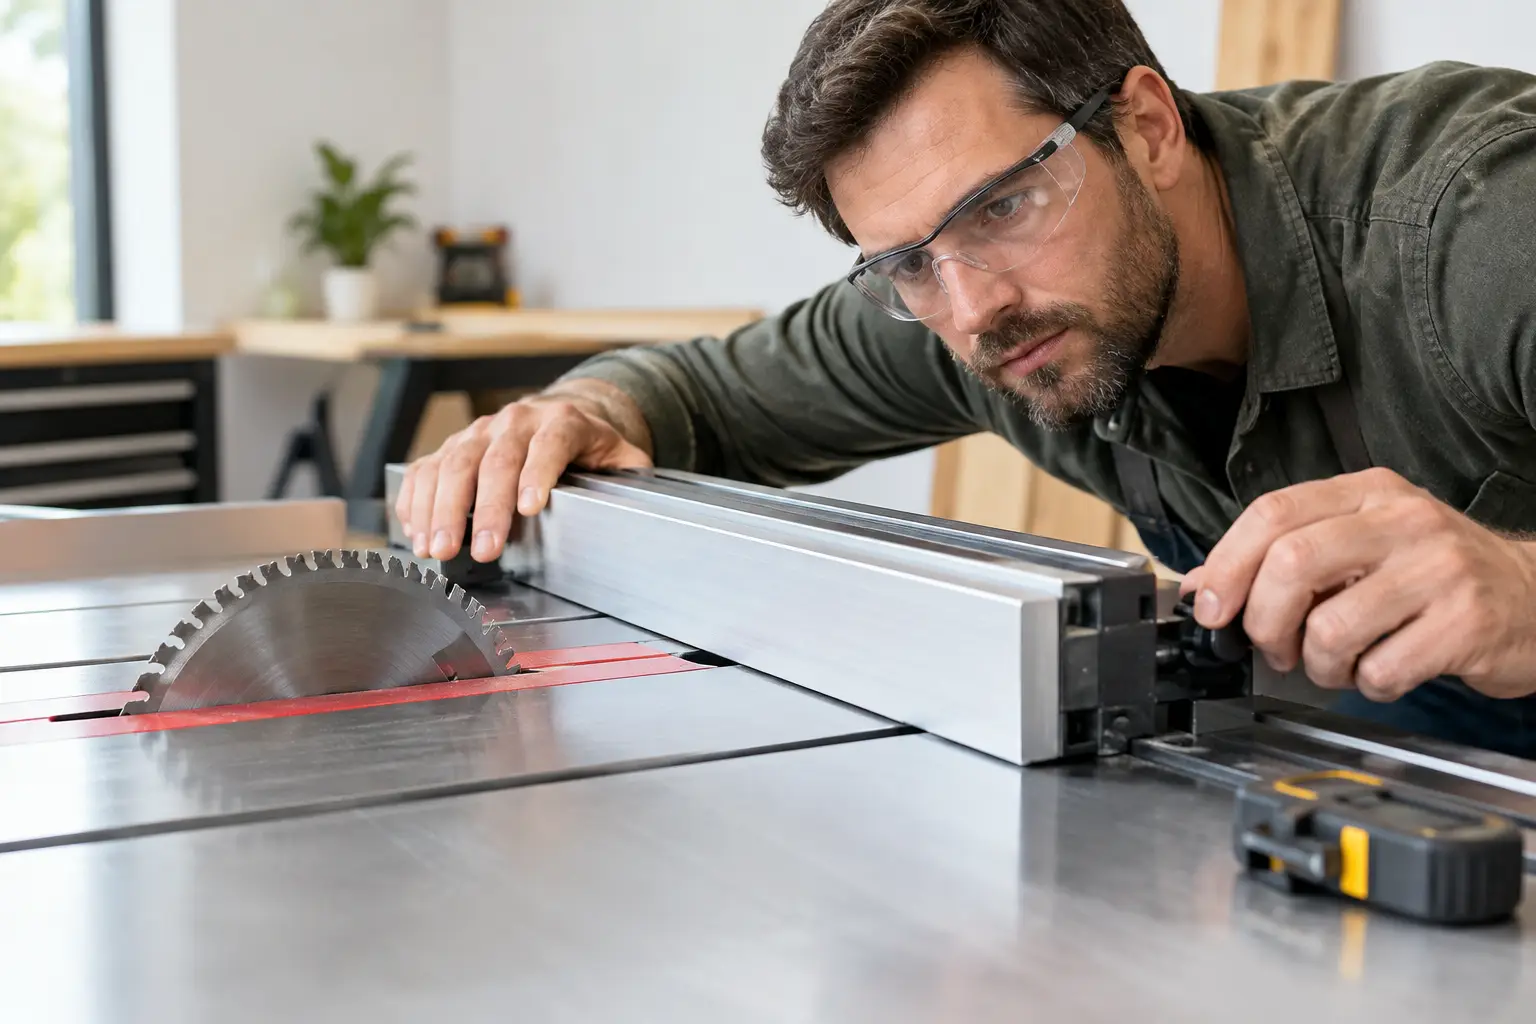
The table saw deserves the most attention because ripping boards requires a straight, unobstructed path through the machine. A compact jobsite saw may fit comfortably in a small garage, but its work envelope can extend several feet beyond its stand.
A mobile base makes this arrangement more practical. Keep the saw parked near the wall when it’s not in use, then roll it into position when you need the center of the garage for cutting.
One important distinction: a garage that can hold a table saw, a workbench, and several storage cabinets is not automatically large enough to operate all those tools safely. The working space around each machine determines whether the layout actually works.
Start With Working Clearances, Not Tool Footprints
Before buying cabinets or building a permanent miter saw station, measure the space needed to handle the material you cut most often.
A machine’s footprint is the floor area it occupies. Its working envelope includes the operator’s position, the material entering and leaving the machine, and enough room to move without striking a wall or another tool.
For example, an 8-foot board needs a clear path before and after the table saw blade. If you routinely rip full-length boards, plan for approximately 8 feet of usable space on both sides of the blade whenever possible. A shorter workpiece may need much less room.
Use these starting points when sketching your garage:
- Walking space: Aim for a clear path of roughly 30 to 36 inches where the layout permits. More room is helpful when carrying lumber or moving equipment.
- Table saw: Measure the full infeed and outfeed path for your longest stock. Account for the operator and any support tables.
- Miter saw: Allow room for the longest boards you cut, including support on both sides of the blade.
- Workbench: Leave enough standing room to clamp, assemble, and handle a project without backing into another machine.
- Access areas: Keep doors, the electrical panel, garage-door hardware, appliances, and required exit routes accessible.
These are planning guidelines, not universal safety clearances. Follow the machine manufacturer’s instructions and check the dimensions against the actual tools you own.
The garage door can provide extra room for long boards when open, but don’t make it the only way a tool fits. Weather, noise, security, and temperature may prevent you from working with the door open every time.
A good layout should accommodate your normal projects without requiring you to rebuild the shop before each cut.
Place the Miter Saw Station Along a Side Wall
A miter saw is a natural fit for a side-wall station because most cuts require support on either side of the blade rather than a long, straight material path through the center of the room.
A compact bench approximately 24 inches deep can work well, provided its height matches the saw bed and the design supports the material you cut. For many one-car garages, a 5- to 6-foot base with folding support wings is more practical than a permanent 10-foot cabinet.
If you regularly cut long trim, flooring, or framing lumber, the wings can extend the support area when needed and fold away afterward.
For a more detailed look at this arrangement, see our guide to a miter saw station for a one-car garage.
Before building the station, check three things:
- The longest material you expect to cut can be supported without striking a wall, door, or parked vehicle.
- The station does not block access to outlets, switches, or other equipment.
- The folding wings can open fully without hitting the workbench, table saw, or storage cabinets.
A fixed miter saw station makes sense in a dedicated woodworking garage. In a mixed-use garage, folding supports usually provide more flexibility.
Make the Workbench Your Permanent Work Zone
The workbench is where you’ll measure, assemble, clamp, repair, and maintain tools. Unlike the table saw, it generally benefits from staying in one place.
A bench approximately 6 to 8 feet long and 24 inches deep is a useful starting point for a compact shop. Adjust the dimensions to your projects and the available wall space rather than building the largest bench that fits.
Position it along the wall opposite the miter saw station if the room allows. That arrangement separates two common tasks and leaves the middle of the garage available for mobile equipment.
Secure the bench appropriately to prevent movement during work. Keep the surface level and choose a height that feels comfortable for the tasks you perform most often.
Above the bench, use pegboard, a French cleat system, or shallow wall cabinets to store frequently used hand tools. Avoid deep overhead storage that interferes with your head or limits access to the work surface.
The space below the bench can hold portable sanders, a compact compressor, a shop vacuum, and other tools stored in labeled bins. Give each item a designated parking spot so it doesn’t end up on the floor when you need to move a board.
Also check the locations of wall outlets, switches, and electrical equipment before installing cabinets. Storage should make the workshop easier to use, not create a new obstacle.
Put Dust Collection Where the Hose Can Reach
Dust collection needs to be planned alongside the tools, not added after the garage is already full.
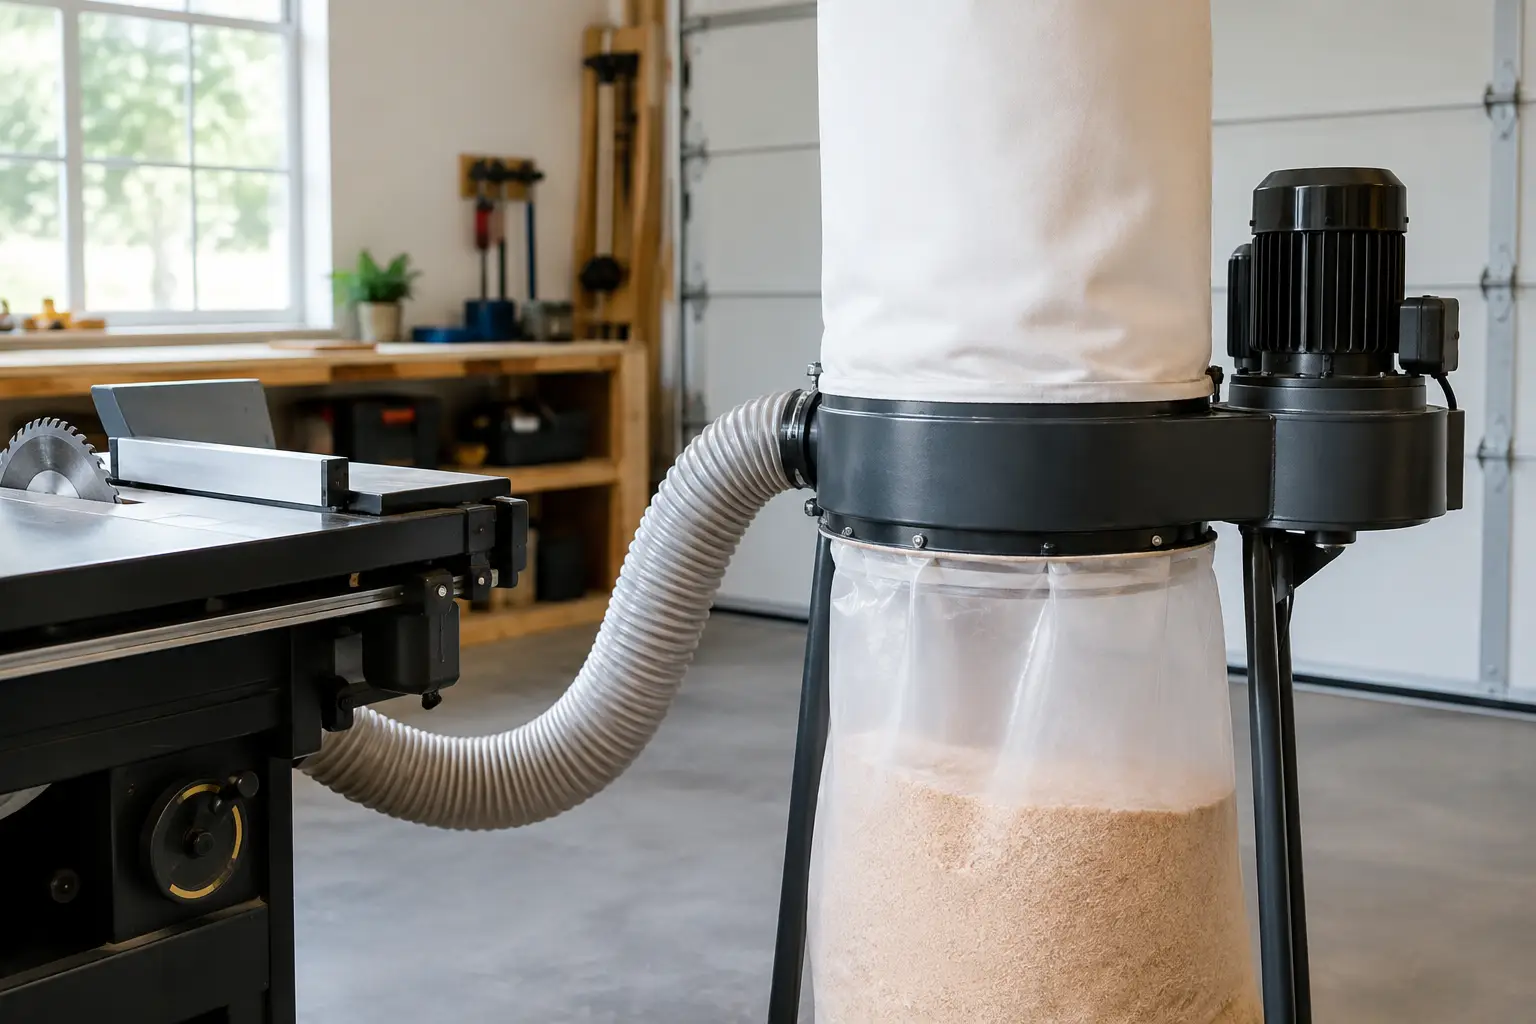
In a one-car garage, a compact dust collector or shop vacuum is often easier to accommodate than a large stationary system with extensive ductwork. The right choice depends on the machine, the dust port, and the material you’re working with.
A table saw with a 4-inch dust port may benefit from a collector and hose designed for that connection. Reducing a large dust-collection connection to a smaller shop-vac hose can substantially limit airflow. However, the actual performance depends on the complete system, including hose length, bends, filters, and the tool’s dust hood.
Our guide explains why a 4-inch dust inlet matters.
A shop vacuum can be a better fit for smaller tools and some benchtop machines, especially when paired with a suitable hose and dust adapter. For help choosing between the two, read our comparison of a portable dust collector vs. a shop vac.
For this layout, park the dust equipment in a rear corner where the hose can reach the table saw and miter saw without crossing the main walking route. Keep the hose as short and direct as practical, and avoid unnecessary bends or sharp turns.
If you use several machines, a blast gate or a cap for an unused connection can help manage the system.
Don’t overlook filtration. Collecting chips and larger debris does not necessarily capture the fine dust that remains airborne. Use appropriate filtration, maintain filters as directed, and collect dust at the source whenever possible. A portable air cleaner can supplement source collection, but it cannot replace it.
Finally, route hoses so they won’t catch on the wheels of a mobile saw or create a trip hazard when you’re carrying lumber.
Keep the Garage Usable When the Car Comes Back
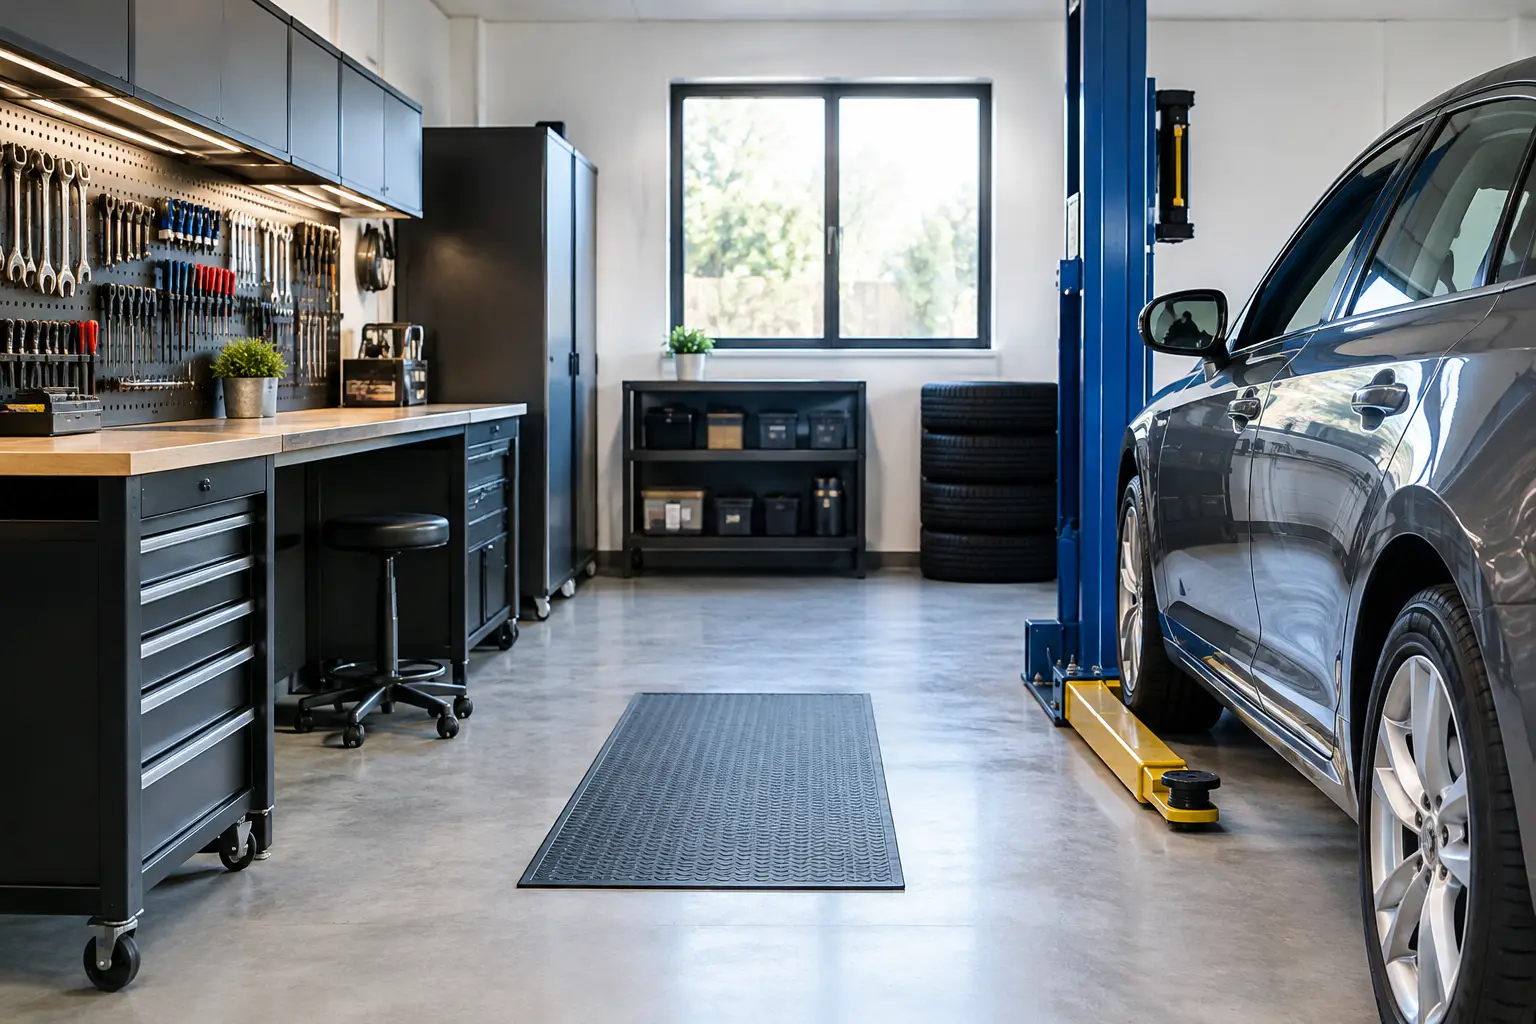
If your garage still needs to accommodate a vehicle, plan the parking arrangement before you install permanent storage.
Measure the vehicle with its mirrors included. Check how much space you need to open the driver’s door and access the trunk or hatch. Then mark the vehicle’s parking envelope on the floor using painter’s tape.
Next, identify where the table saw, folding outfeed table, rolling carts, and portable dust equipment will go when they’re not being used.
The idea is to create two working states:
Workshop mode: The car is outside, the table saw is positioned for cutting, support surfaces are deployed, and the dust hose and power supply are routed safely.
Parking mode: The saw and carts return to their designated positions, folding supports are closed, hoses and cords are put away, and the main floor area is clear.
Test both arrangements before committing to a layout.
Wall storage is especially valuable in a shared garage. Store hand tools, hardware, and small accessories on the walls or in cabinets rather than spreading them across the floor. Keep lumber quantities under control, and avoid accumulating offcuts that have no realistic use.
Full sheets of plywood can consume a surprising amount of space. If you rarely use them, consider buying sheet goods for individual projects or arranging cuts before bringing them home.
Store lumber on properly rated supports, and make sure heavy materials can be loaded and removed safely. Don’t use overhead storage simply because the floor is crowded.
A practical workshop is not one that stores everything. It’s one that keeps the materials and tools you actually use within reach.
Plan Electrical Access Before Moving the Machines
Power requirements can determine where a table saw, dust collector, or other machine belongs.
Many portable woodworking tools in the United States use 120-volt power, but voltage alone does not tell you whether a circuit can handle the load. Check each tool’s nameplate and manual, along with the circuit capacity and the other equipment connected to it.
Some machines may require a suitable dedicated circuit. Others may operate on an existing circuit if the total load and installation permit it. Do not assume an ordinary extension cord or a nearby outlet is sufficient for every machine.
If a tool requires 240 volts, confirm that your garage has an appropriate supply before purchasing it or designing the shop around it. Have electrical work evaluated by a qualified professional when necessary, and follow applicable electrical codes.
Place frequently used outlets where cords can reach the work area without crossing the path of a moving board. A properly installed cord reel can be useful, but cords must remain clear of blades, moving parts, and walking routes.
The same principle applies to lighting. Position task lighting over the workbench and cutting areas, and avoid arrangements that create distracting shadows across the blade or workpiece.
Planning power and lighting early is easier than moving machines and cabinets after the shop is finished.
Test the Layout Before Building Anything
A floor plan can look excellent on paper and still fail when you bring in an actual board. Before buying lumber for a permanent station, test the layout with cardboard, tape, or empty boxes.
Follow this sequence:
- Measure the garage. Record the usable width and depth, ceiling height, door tracks, interior doors, appliances, outlets, and fixed obstacles.
- Mark the storage. Outline the workbench, miter saw station, cabinets, and any lumber racks on the floor.
- Position the table saw. Mark its footprint and the working path required for your longest common stock.
- Test material movement. Carry an actual board through the intended path. Check whether it strikes a wall, a door, or another tool.
- Deploy the support surfaces. Open folding wings and position the outfeed table. Make sure each can be used without blocking necessary access.
- Test dust collection and power. Route the hose and cords as they would be during real work. Remove trip hazards and avoid routing anything through the cutting path.
- Test vehicle parking. Bring the car inside and check the doors, walking route, and storage positions.
- Revise before building. Move the tape and boxes until both the workshop and parking arrangements work.
During this test, confirm that the electrical panel and other service equipment remain accessible and that no required exit or access route is obstructed. Never test a cutting operation with an unstable machine or improvised support.
This process can save money because it exposes layout problems before you build cabinets, purchase a mobile base, or install a long miter saw station.
Common One-Car Garage Workshop Layout Mistakes
Even a small shop can be frustrating if the layout ignores how tools are actually used. These are the mistakes worth avoiding.
Buying tools before planning the workflow. A machine may fit against a wall but still be impossible to use with your longest workpiece. Measure the working envelope first.
Building too much permanent cabinetry. Deep cabinets and oversized benches can eliminate the flexibility that makes a one-car garage useful. Use shallow storage where possible.
Leaving no parking space for mobile tools. A mobile base only saves space if the machine has a clear destination when the job ends.
Keeping too much lumber and too many offcuts. Material storage expands quickly. Limit stock to what you can store safely and use realistically.
Ignoring dust and hoses. A powerful collector won’t help much if its hose can’t reach the machine properly. Plan connections and routing alongside the floor layout.
Assuming the garage door solves every clearance problem. Outdoor space can help with long stock, but the layout should not depend on it for every normal operation.
Blocking electrical equipment or exits. Cabinets and machines must not prevent required access to panels, controls, doors, or escape routes.
The most effective small-shop layout is usually the one with fewer obstacles, better-defined work zones, and a simple reset routine.
Frequently Asked Questions
What is the best layout for a one-car garage workshop?
For many woodworking setups, a practical starting point is a workbench against one wall, a miter saw station along another, and a mobile table saw positioned along the garage’s longest axis when needed. Keep storage near the perimeter and preserve a clear material path. Adjust the arrangement to your tools and parking requirements.
Can you fit a table saw in a 12-by-20-foot garage?
Often, yes, but fitting the saw is different from having enough room to use it. Measure the saw’s footprint, the length of your stock, and the required infeed and outfeed areas. A mobile saw can improve flexibility, although full-sheet cutting may remain impractical in some layouts.
Should a table saw stay in the middle of the garage?
Not necessarily. A mobile table saw can be parked near a wall and rolled toward the center for cutting. This frees floor space between projects. The saw must be stable and properly positioned for use, with adequate material support and clearance.
How can I keep a one-car garage workshop organized?
Give every machine and cart a designated storage position. Use wall-mounted storage for frequently used tools, keep lumber quantities manageable, and return hoses and cords to their storage locations after each session. A short cleanup routine makes it easier to use the garage for both projects and vehicle parking.
Is a shop vacuum enough for a small woodworking garage?
It depends on the machine and the dust it produces. A shop vacuum can work well with suitable dust ports and adapters on many portable tools. Larger machines may benefit from a dust collector designed to move more air. In either case, use appropriate filtration and collect dust at the source.
Final Thoughts: Make Every Square Foot Work
The best one-car garage workshop layout isn’t the one that squeezes in the most machines. It’s the one that lets you work without constantly moving obstacles, struggling with long boards, or wondering where everything should go when you’re finished.
Start with your actual measurements. Plan the material path before placing the table saw, use folding supports where permanent stations would crowd the room, and give every mobile tool a defined parking position.
Then test the arrangement with cardboard, real stock, and your vehicle before building anything permanent.
A small garage can be a productive woodworking space when the layout supports the way you work. Keep the center flexible, store tools with purpose, and make resetting the shop part of the plan. Your next project will be easier to start—and the car can still go back inside at the end of the day.

Leave a Reply